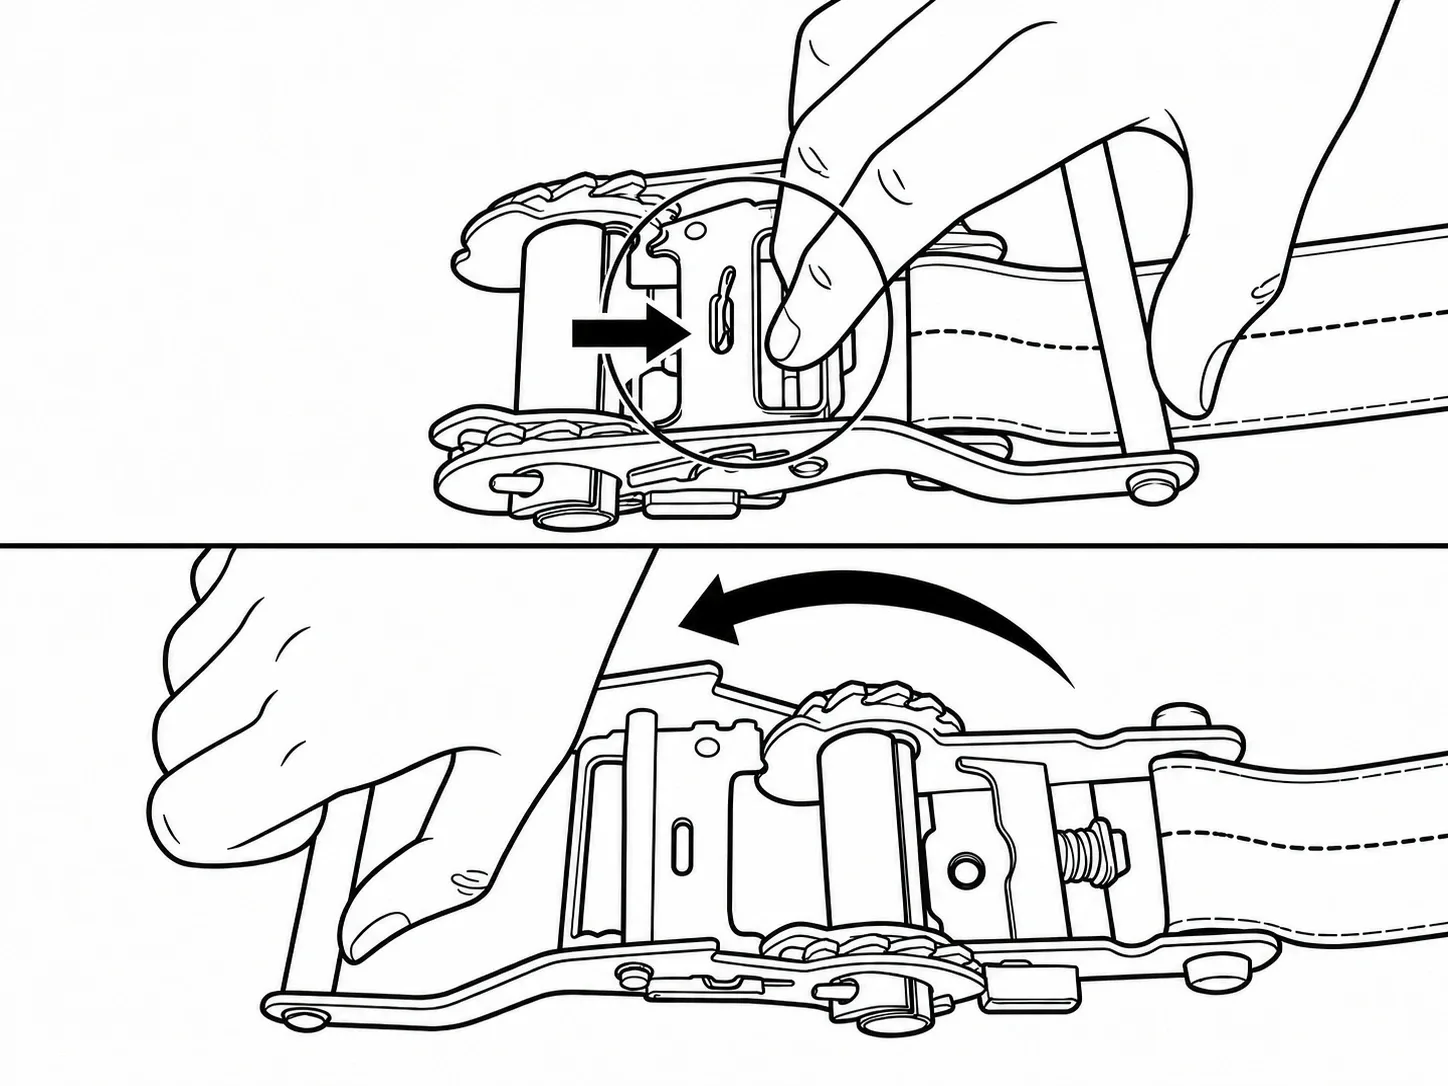
If a ratchet strap is stuck, stop applying force and first make sure the cargo is independently stable. Identify the exact strap and follow its manufacturer's release instructions. A handle that is not in the prescribed release position, webbing crowded around the spindle, an obstructed mechanism, or a damaged component can all make a strap difficult to release—but the symptom alone does not prove which one is responsible.
If the cargo may shift, the mechanism cannot be accessed safely, or the strap remains under an uncertain load, keep people clear and get a qualified person to establish a safe unloading plan. Do not cut a tensioned strap, pry the mechanism, add a lever extension, or place fingers in the gears. A sudden release can move cargo or hardware unexpectedly.
First: make the load stable without relying on the stuck strap
Park in an appropriate safe location and assess the cargo and the surrounding area before touching the release. Cargo that has settled, rolled or pressed against a strap may move when tension changes. Arrange independent support or restraint appropriate to the load under a qualified person's direction, and keep people out of any area where cargo, hooks or webbing could move.
Do not remove other restraints merely to make the stuck one easier to reach. Do not stand in the path of the cargo or a tensioned strap, and do not try to hold an unstable load by hand. If independent stability cannot be established, stop and obtain qualified assistance.
The endless ratchet strap instructions from TIMco also emphasize that the load must be stable independently before the restraint is released. Those instructions apply to the products identified in that manual; always use the instructions for the actual model in hand.
Confirm which mechanism and release position you have
Find the manufacturer's model information and instruction sheet. A conventional ratchet, an endless assembly and a retractable model may have different controls or release sequences. A release handle stopped short of the position specified for the model may leave the locking mechanism engaged. Conversely, forcing a handle against an obstruction does not make the correct position safely accessible.
Only after the load is independently stable and the mechanism is safely accessible, follow the exact manufacturer's normal release procedure. Keep hands and clothing clear of moving parts and control the webbing and end fittings as directed. If the required position cannot be reached without unusual force, stop; do not assume that another brand's release sequence applies.
For a general explanation of parts and normal operation, see how to use ratchet straps. It is not a substitute for the instructions supplied with the specific jammed device.
Look for the symptom without forcing the mechanism
The following observations help describe the issue to the supplier or a qualified person. They are not a diagnosis from a distance:
- Handle stops partway: The release may not be in the model's specified position, or cargo, vehicle structure or hardware may be obstructing its movement. Confirm the correct instructions and clearance.
- Webbing builds up at the spindle: Excess webbing, folds or a twist can crowd the mechanism. Note the visible condition, but do not reach into the gears or pull hard against a loaded assembly.
- Release control will not move normally: The mechanism may be under load, obstructed or damaged. Do not pry a pawl or use a tool to hold a release open.
- Visible rust, bent parts or broken springs: The device may be unserviceable. Do not keep operating it or assume that a lubricant restores its capacity.
- Retractable housing will not rewind: Check the model-specific instructions for the correct operating state. A retraction problem and a loaded-ratchet release problem are not necessarily the same fault.
Photograph the mechanism and label from a safe position. Record whether the cargo has shifted and whether the assembly was under tension when the symptom appeared. Avoid moving the load or manipulating the mechanism solely to obtain a better photograph.
Why too much webbing can cause trouble
If a long tail is wound onto the spindle instead of being pulled through as instructed during setup, webbing can build up around the axle and interfere with operation. Folded or twisted webbing can also create an uneven winding path. A crowded spindle should not be treated as permission to tug hard on webbing while the load remains supported by the strap.
Keeper's ratchet tie-down guidance discusses taking up slack before ratcheting and warns against pulling on the pawls to release tension. Its specific release description applies to Keeper's mechanism; follow the instructions for the device being used.
Once the load has been made independently stable and all tension has been safely removed using the manufacturer's procedure, assess the webbing and ratchet under that procedure. If the webbing remains trapped or the release still does not operate normally, stop and ask the manufacturer or a qualified person. Do not put the strap back into service simply because it eventually moved.
Incorrect threading or a twist
Webbing that has entered the slot incorrectly, folded over itself or become trapped beside a moving part may prevent normal adjustment or release. The exact path through the spindle differs by model. Compare the safely visible arrangement with the manufacturer's instructions; do not insert a screwdriver, knife or fingers into the loaded mechanism to rearrange the webbing.
After the strap is safely unloaded and removed, a qualified person can compare its condition and threading with the applicable instructions. Look for cuts, pulled fibers, crushed or severely abraded webbing and damaged stitching. If there is damage or uncertainty about serviceability, remove the assembly from use and contact the manufacturer for its disposition.
Corrosion, contamination and damaged hardware
Dirt or corrosion can make a release difficult to operate, while a bent frame, deformed teeth or broken spring may mean that the mechanism cannot function as intended. A jam is not always solved by cleaning: damage can affect the device even when the handle subsequently moves.
Do not spray an unspecified oil, solvent or chemical onto webbing or hardware. Cleaning and lubrication, if permitted, must follow the product manufacturer's instructions; an incompatible substance can affect materials or hide a problem. Do not straighten bent parts, replace springs, dismantle the ratchet or re-sew webbing unless the manufacturer has an approved process for that exact assembly.
If a gate, hook, ratchet or label is damaged, retain the model and batch information where available and request guidance. The ratchet tie-down range includes different assembly configurations, so make sure a replacement matches the application and its documentation.
When to stop and remove the assembly from service
Stop the attempt and seek assistance if the load is unstable, the release is inaccessible, the handle requires unusual force, the webbing is trapped under uncertain tension, or the correct instructions are unavailable. A qualified person must decide how the cargo can be independently supported and unloaded. Never cut a strap that may be under tension or supporting a load.
After safe removal, take the assembly out of service when the manufacturer’s criteria identify damage, when any component is deformed or malfunctioning, or when its condition cannot be verified. A decision to inspect, repair or replace must follow the manufacturer's instructions and the applicable rules. Do not rely on a visual check alone to assign a reduced WLL to a damaged strap.
Reduce the chance of a repeat jam
Select an assembly with a suitable length, end fittings and operating clearance for the job. Before tensioning, remove slack as the manufacturer instructs and keep the webbing aligned; follow the stated minimum and maximum wraps for that model. Manage the free tail as directed, protect webbing from damaging contact, and inspect the complete assembly before use.
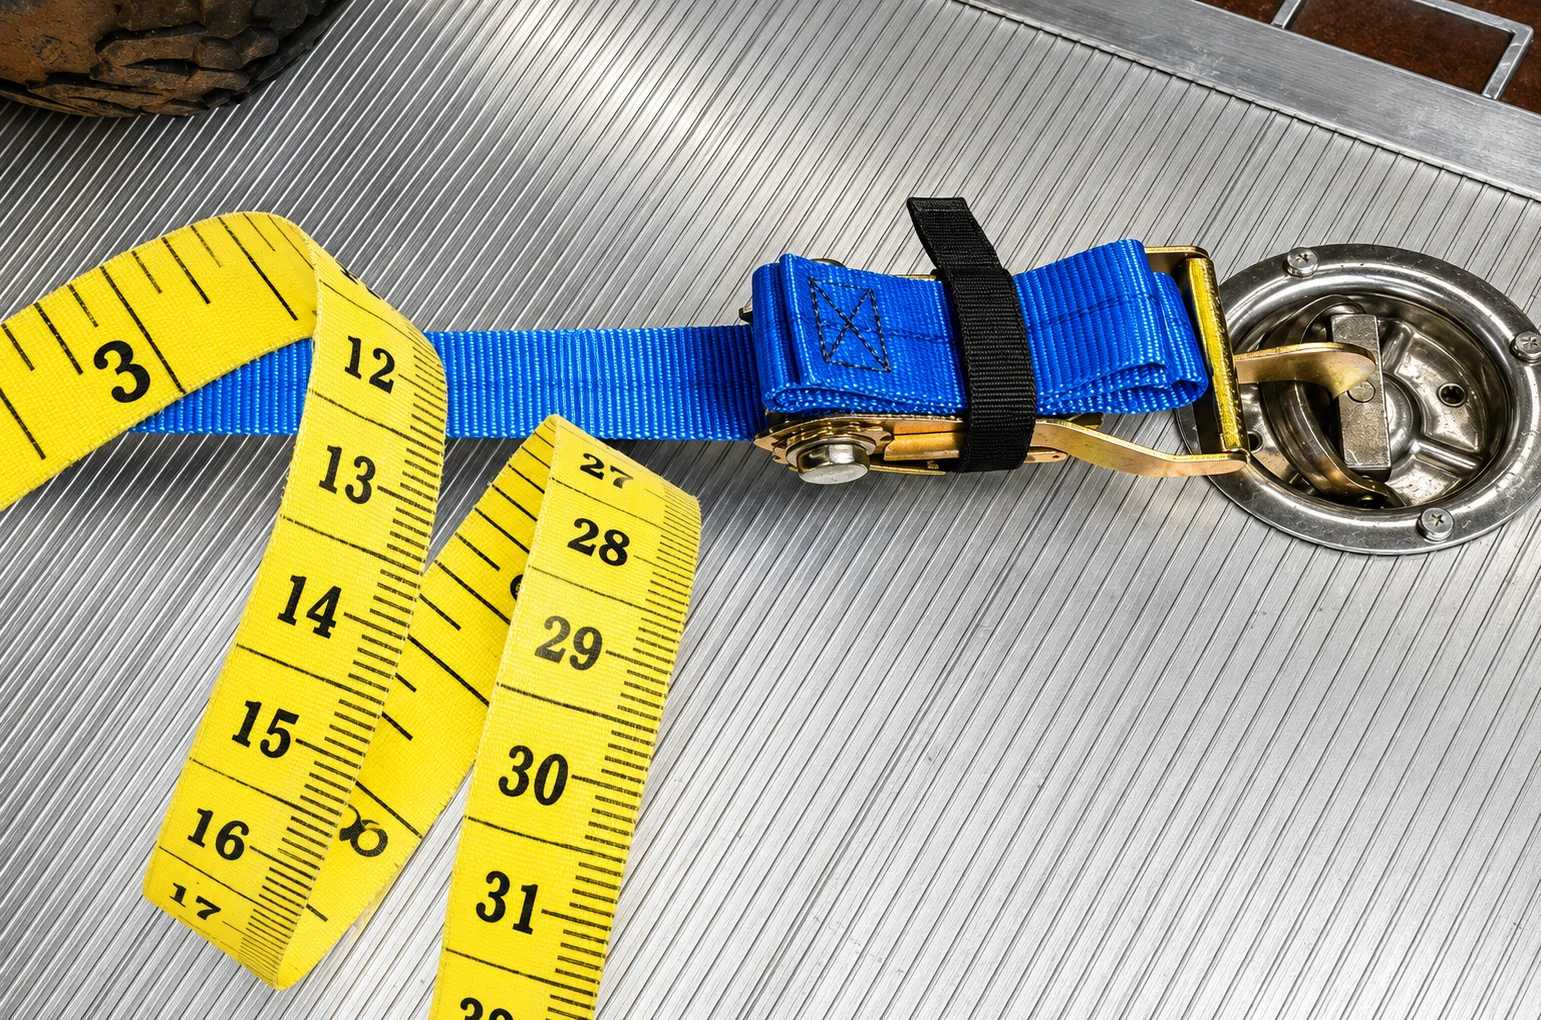
A ratchet positioned against the cargo or a vehicle wall may leave too little space to release it. Review the fixed-end position and strap path when selecting the next assembly. Our width and length selection guide explains which measurements to include in a buyer's specification.
For a product or purchasing question, send Xiangle an inquiry with the model, label information, configuration, a safe photograph of the problem and the intended application. Ask which instructions and replacement options apply; do not send confidential customer information in the photograph.