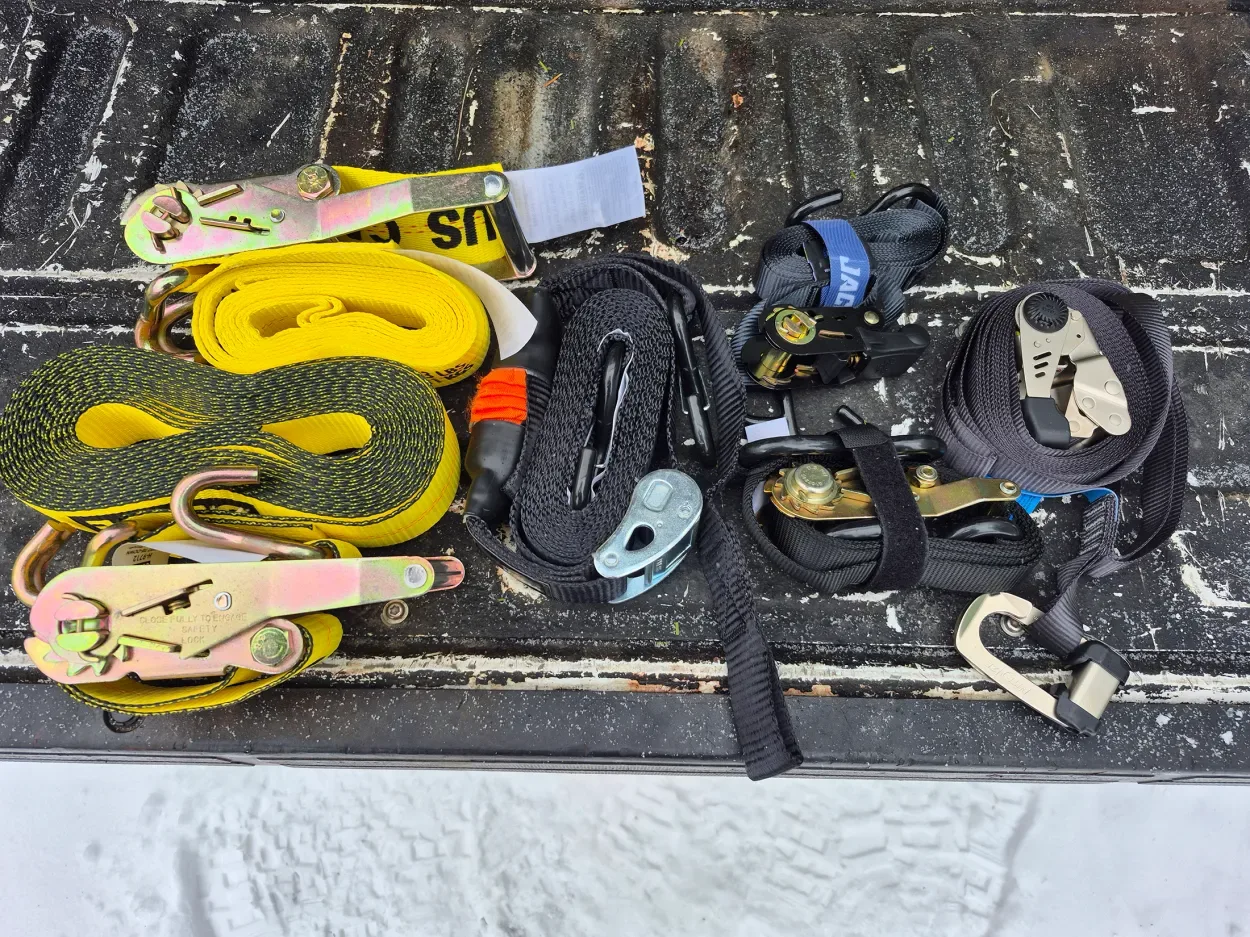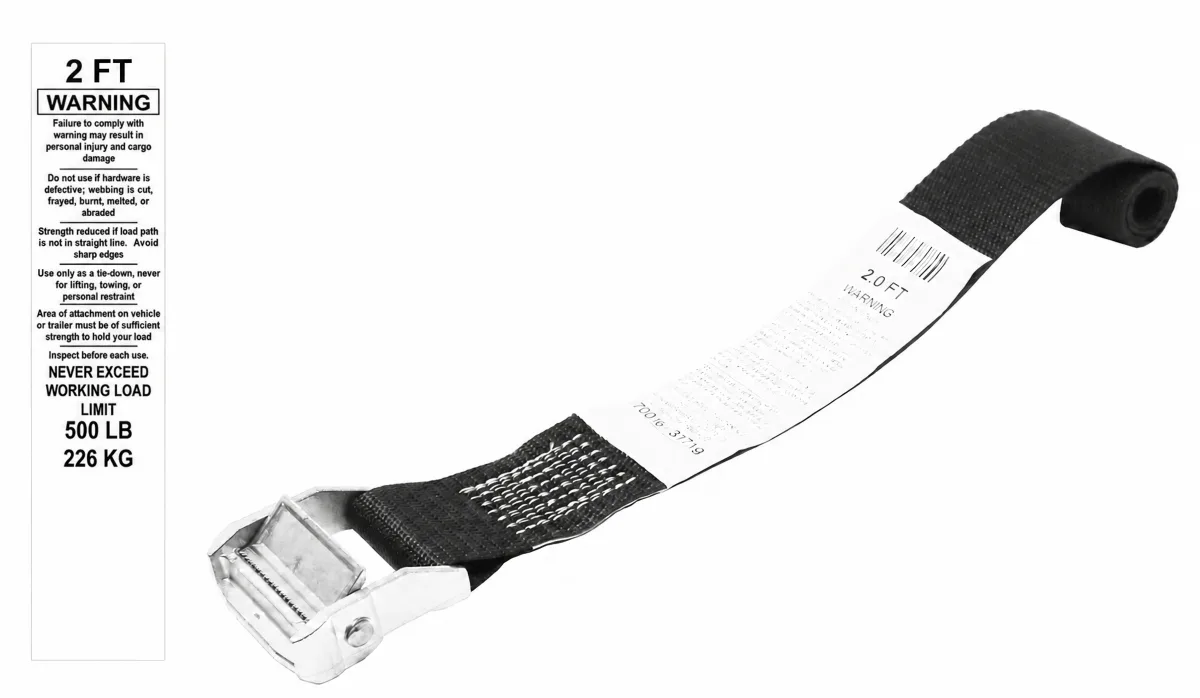
To use a cam buckle strap, route the webbing as the manufacturer directs, press the cam lever to open the gripping path, feed the free end through, and pull out slack by hand. Release the lever so the cam grips the webbing, then check the complete setup before movement. To remove it, first make sure the cargo is independently stable and follow the manufacturer's release instructions.
Cam designs and complete strap configurations vary. The steps below describe a common hand-operated cam buckle; the instructions supplied with your exact assembly take priority. A strap that is hand-tightened can still crush or mark cargo, and a correctly threaded buckle alone does not establish that a load is adequately secured.
Before threading: identify the parts and the job
Find the buckle body, spring-loaded lever or release, webbing and any end fittings. Locate the loose adjustable end and the manufacturer's identification and instructions. Some assemblies use hooks or other fittings at their ends; an endless strap loops around an item and returns to its own buckle. The attachment path must match the design.
Choose the complete assembly for the application, including the manufacturer's working load information, the anchor points, the cargo and the intended direction of restraint. Check the webbing, stitching, buckle and fittings for damage before use. If the assembly is damaged, the label or instructions are unclear, or the buckle does not work as directed, remove it from service and consult the manufacturer.
For applicable commercial motor vehicle operations, review the FMCSA cargo securement rules. A securement plan may require additional devices, blocking or other measures depending on the load and regulations. Do not select a strap solely by its color, width or the breaking strength of one component. Our working load limit guide explains the difference between working load limit and breaking strength.
Step 1: Plan the route and protect contact points
Place the cargo so it is stable while you work. Identify suitable anchor points and route the strap without twists, sharp edges or contact with vulnerable components. Use protective material where needed and appropriate to the application. Under FMCSA's applicable commercial vehicle rules, edge protection is required where the tie-down would be exposed to abrasion or cutting at a cargo contact point.
For a hook-ended assembly, attach the fittings to suitable anchor points as directed, checking that each fitting seats properly and cannot interfere with the buckle or other equipment. For an endless assembly, route the webbing around the item in the intended direction. An endless loop around a bundle is not, by itself, an attachment to a vehicle.
Position the buckle where the lever is accessible and where accidental contact will not open it. Protect sensitive surfaces from both the webbing and buckle. Ask the cargo manufacturer about any restrictions on compression or contact; hand tension does not guarantee that a delicate item will remain undamaged.
Step 2: Open the cam and feed the free end
On many common cam buckles, pressing the spring-loaded lever opens a gap between the gripping cam and the buckle body. Keep fingers clear of the gripping area. Feed the loose end through the gap in the direction specified by the assembly maker, keeping the webbing flat.
For example, AGM Container Controls shows one cam buckle threaded from the underside through the opening while the lever is depressed. That is a useful reference for that design, not a substitute for the directions supplied with another buckle. Check the actual webbing path: the moving cam must be able to grip the webbing as intended when the lever is released.
Leave enough free webbing to make the required adjustment and to manage the tail in accordance with the instructions. Do not guess a minimum tail length or replace the approved webbing with a different width or thickness. A webbing-and-buckle combination must be suitable for the complete assembly.
Step 3: Take up slack and check the grip
Following the specific manufacturer's method, pull the free end by hand to take up slack. Release the cam lever so the gripping surface engages the webbing. Some instructions call for pulling the free end after the lever is released; others describe removing slack with the lever depressed before releasing it. Follow the sequence for your assembly.
Check that the strap lies flat, the buckle is closed as intended and the fittings remain correctly seated. Apply a controlled check in the intended direction of restraint as directed by the manufacturer. If the webbing slips, stops at an unexpected angle, bunches or does not grip, do not use the assembly for the load. Unload and support the cargo independently, then check threading, compatibility, damage and the instructions. Do not compensate by knotting the strap or modifying the buckle.
Do not add levers, bars or other mechanical aids to pull the webbing. Set tension appropriate to the cargo and the equipment instructions; overtightening can damage the load even with a cam buckle. Our cam buckle versus ratchet comparison covers selection differences when a cam assembly is not appropriate for the application.
Step 4: Secure the tail and recheck the system
Manage the free tail according to the assembly manufacturer's instructions so it cannot reach wheels, moving parts or the road. Do not obstruct the buckle or prevent the cam from closing. Recheck the complete load, anchor points and strap path under the applicable operating instructions and regulations. Loads can settle or shift, so follow the relevant inspection and recheck requirements for the operation.
If the cargo or strap shifts, stop in a safe place and reassess the complete securement system. Adding hand tension to an unsuitable or damaged arrangement does not resolve an anchor, edge-protection or load-stability problem.
Step 5: Release only after the cargo is stable
Before touching the release lever, make sure the cargo cannot fall, roll or shift when tension is removed. Stand clear of potential movement and follow the load and assembly manufacturers' instructions. Pressing the cam lever can allow webbing to move quickly, so maintain control of the strap and keep hands clear of pinch points.
On the common design described above, depressing the lever opens the cam so the webbing can be fed back through. Release tension gradually as the manufacturer directs, remove the fittings or loop, then inspect the assembly. If access is unsafe, the buckle is damaged or the load remains unstable, stop and obtain qualified assistance rather than forcing the mechanism.
Common threading and use errors
- Wrong path: Webbing bypasses the gripping cam or enters in the wrong direction. Re-thread using the exact product instructions before applying a load.
- Twisted or bunched webbing: The strap does not lie correctly in the gripping area or against the cargo. Remove tension safely and correct the route.
- Blocked release lever: Cargo or surrounding equipment presses the lever or prevents normal release. Reposition the assembly according to its instructions.
- Unsuitable anchor or sharp contact: A fitting does not seat properly, or the webbing can abrade. Resolve the anchor and protection before use.
- Damaged or incompatible parts: Frayed webbing, damaged stitching, a deformed buckle or an unapproved replacement webbing can make the assembly unsuitable. Remove it from service and consult the manufacturer.
Choosing an assembly for a product range
Distributors and brand buyers can compare cam tie-down strap configurations, including an endless cam strap and a hook-ended cam strap. These are different assembly types; verify the exact product instructions and working load information for the configuration being considered.
To request product information or instructions, contact Xiangle with the intended application, required configuration, quantity and destination market. Ask for the documentation that applies to the exact assembly before approving a sample or order.