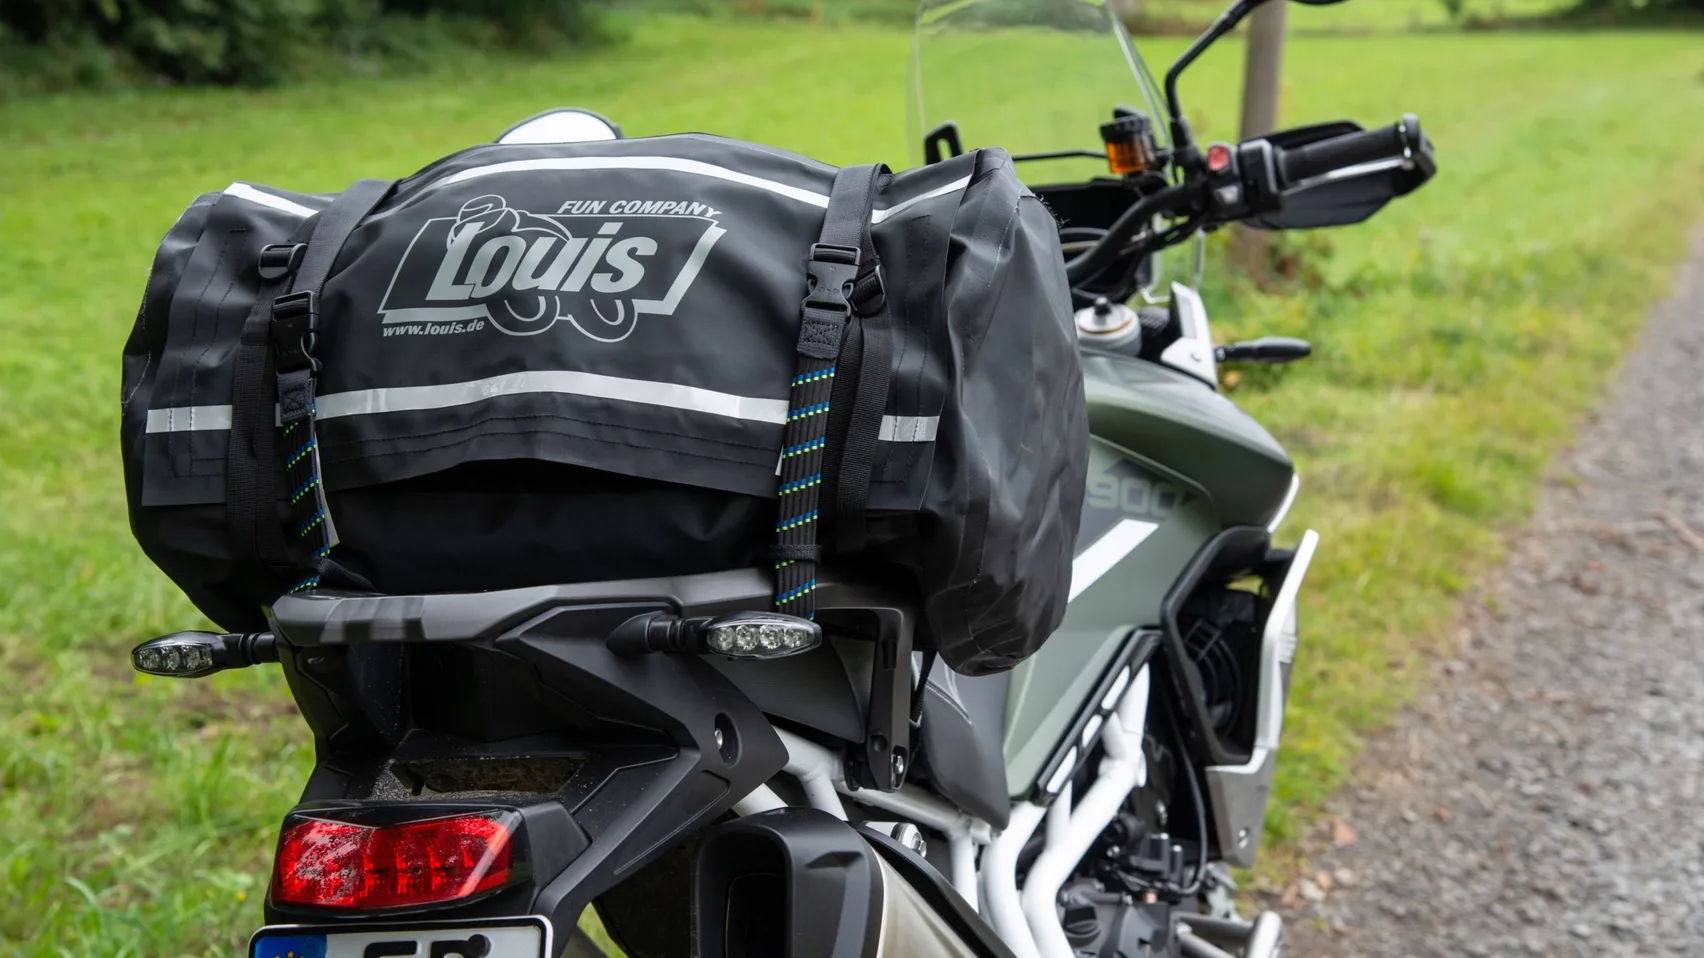
To secure a dry bag to a motorcycle, choose a supported luggage position and suitable anchor points, route the straps over the bag, tension them according to the strap instructions, and secure every loose end. Before riding, check that the bag cannot slide out of the straps or interfere with the motorcycle.
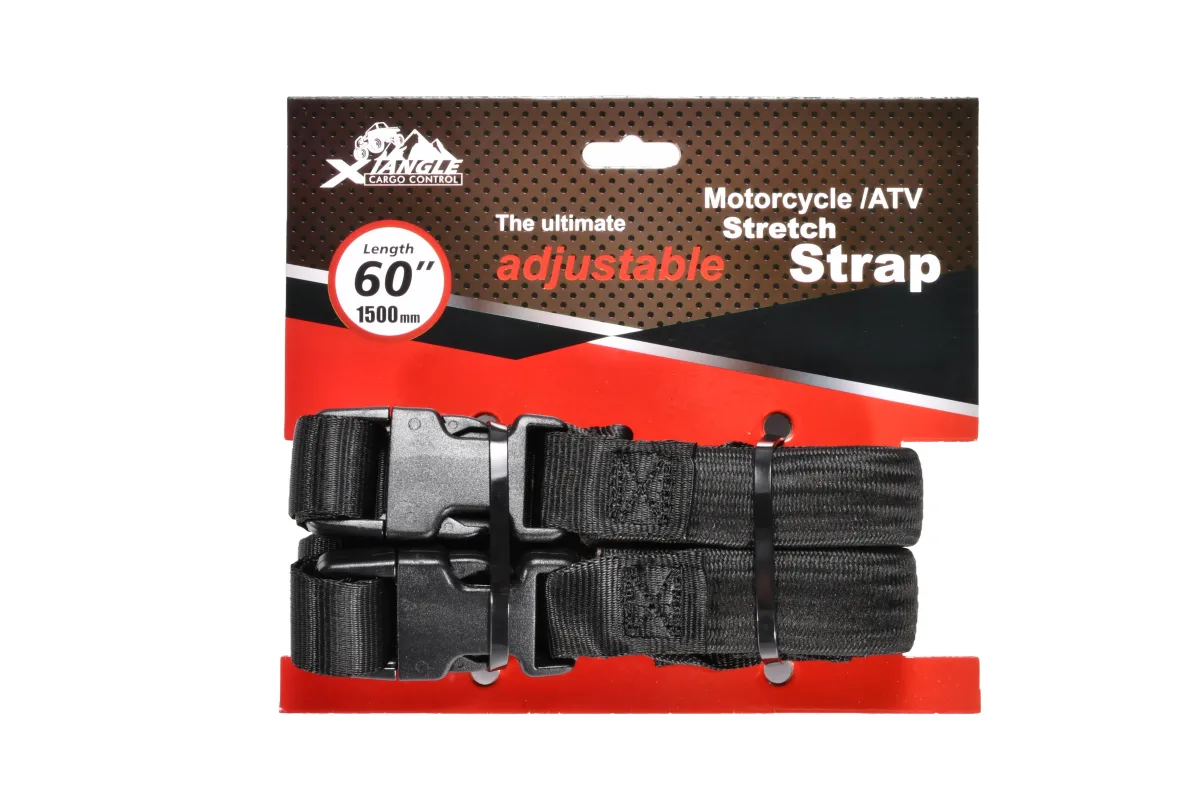
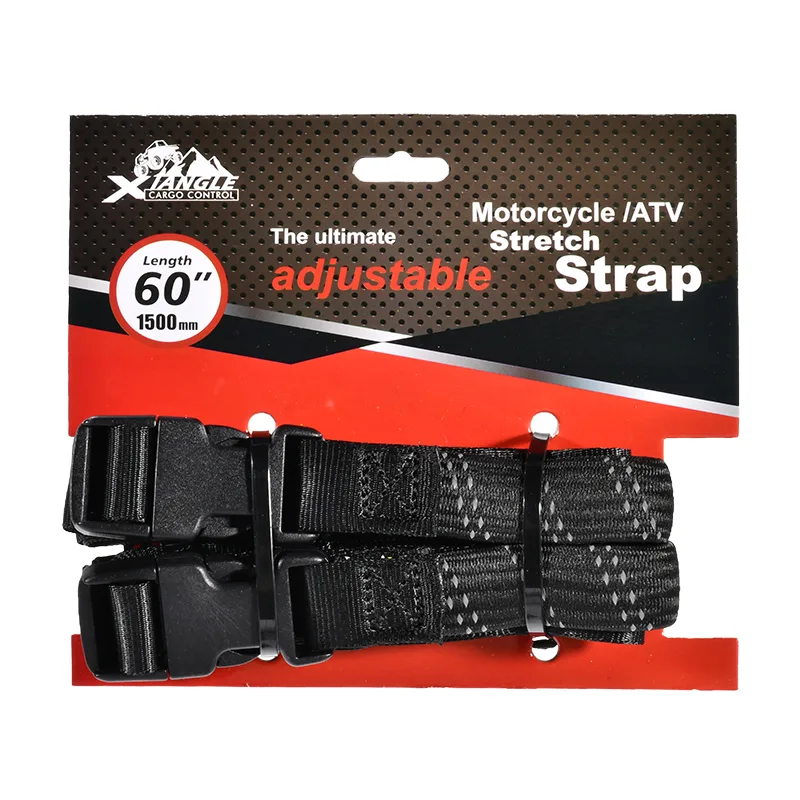
The details matter: a strap can feel tight while the bag still has room to move. This guide explains a typical setup using a pair of adjustable, loop-ended motorcycle luggage straps. Follow the instructions for your motorcycle, rack, bag, and straps whenever they specify a different arrangement.
What You Need Before You Start
Check the motorcycle's total load allowance and the rack's separate limit. Include the rider, passenger, accessories, and luggage when checking the vehicle limit. A stronger strap does not increase the capacity of the rack or motorcycle.
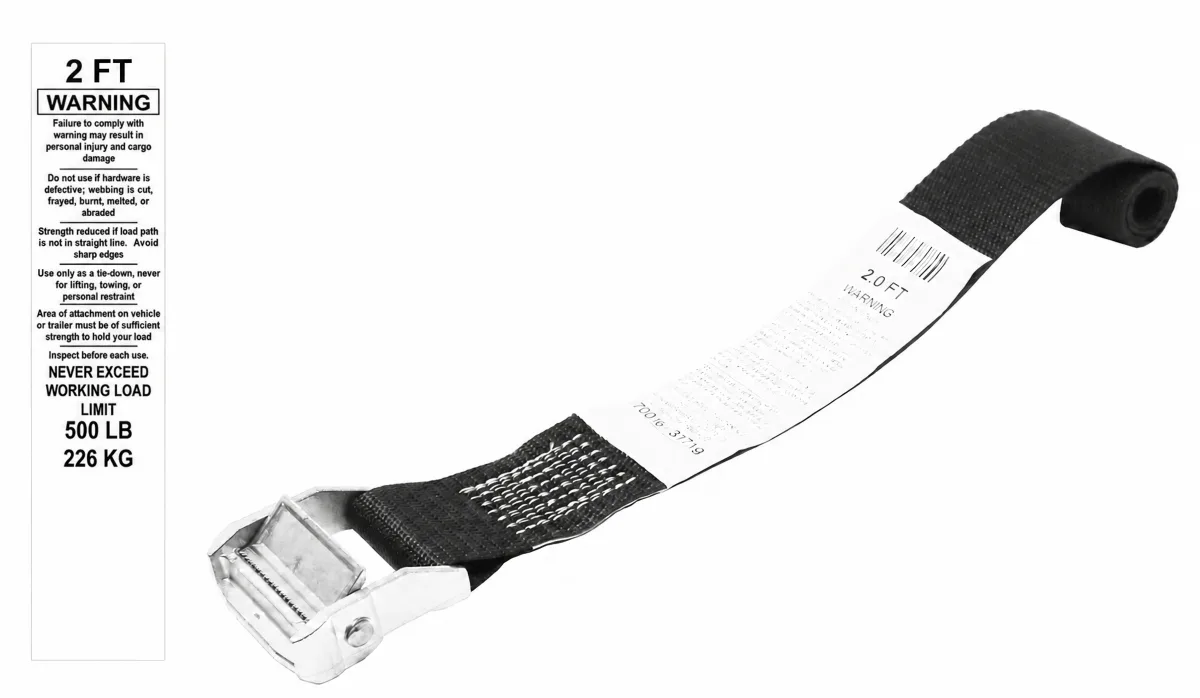
Inspect the straps for cuts, damaged stitching, worn elastic, and cracked or damaged buckles. Confirm their usable adjustment range and rating. Do not treat breaking strength as a working load limit, or assume that a rating applies to a pair when the documentation describes one strap.
Step 1: Choose a Supported Position for the Bag
Use the luggage position permitted by the motorcycle and rack manufacturers. Keep the load low and centered, and avoid placing it unnecessarily far behind the rear axle. The Motorcycle Safety Foundation recommends keeping loads light, low, balanced, and centered.
The seat or rack should support the bag without allowing it to sag toward the wheel, chain, or exhaust. Close the dry bag according to its manufacturer's instructions, then place it in the intended riding position. Check that it leaves room for the rider and does not obscure required lights or the number plate.
Check: The bag rests securely on its support, and its position allows the motorcycle and rider to function normally. If it cannot be supported with adequate clearance, change the mounting arrangement before proceeding.
Step 2: Find Suitable Anchor Points
Identify the luggage attachment points approved for your motorcycle or rack. Depending on the equipment, these may be dedicated rack slots or specified structural mounting points. A rail or bracket that looks convenient is not automatically suitable for carrying a luggage load.
Plan the complete strap route before tightening anything. Keep it clear of cables, hoses, sharp edges, hot surfaces, and moving parts. Allow for the fact that suspension movement changes clearances; follow the vehicle's loading guidance rather than judging clearance only while the bike is parked.
Check the intended purpose of any D-rings, handles, or loops on the bag. Use them as load-bearing attachment points only when the bag manufacturer permits it. A shoulder-strap fitting may have a different purpose from a luggage tie-down point.
Check: Every anchor has a confirmed purpose, and the planned strap route avoids parts that could be damaged or obstructed.
Step 3: Attach and Route the Straps
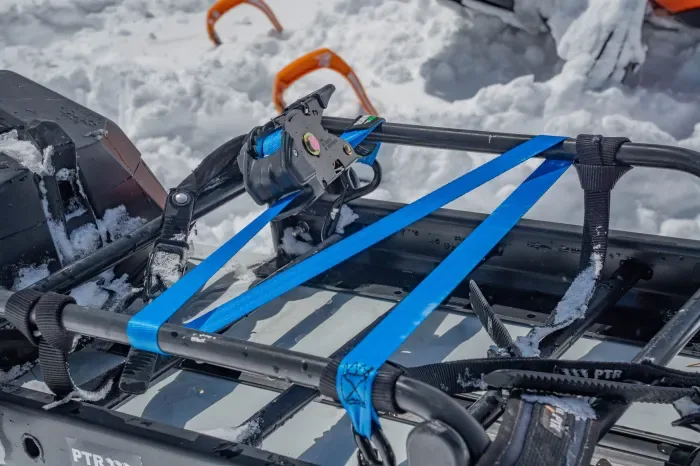
For a two-part strap designed for loop-through attachment, wrap the sewn loop around a suitable anchor. Pass the opposite end of that same strap section through the loop, then pull it through until the loop is seated. Attach the other section at its anchor in the same way. Bring the sections over the bag and connect the buckle until it is fully engaged. Repeat for the second strap.
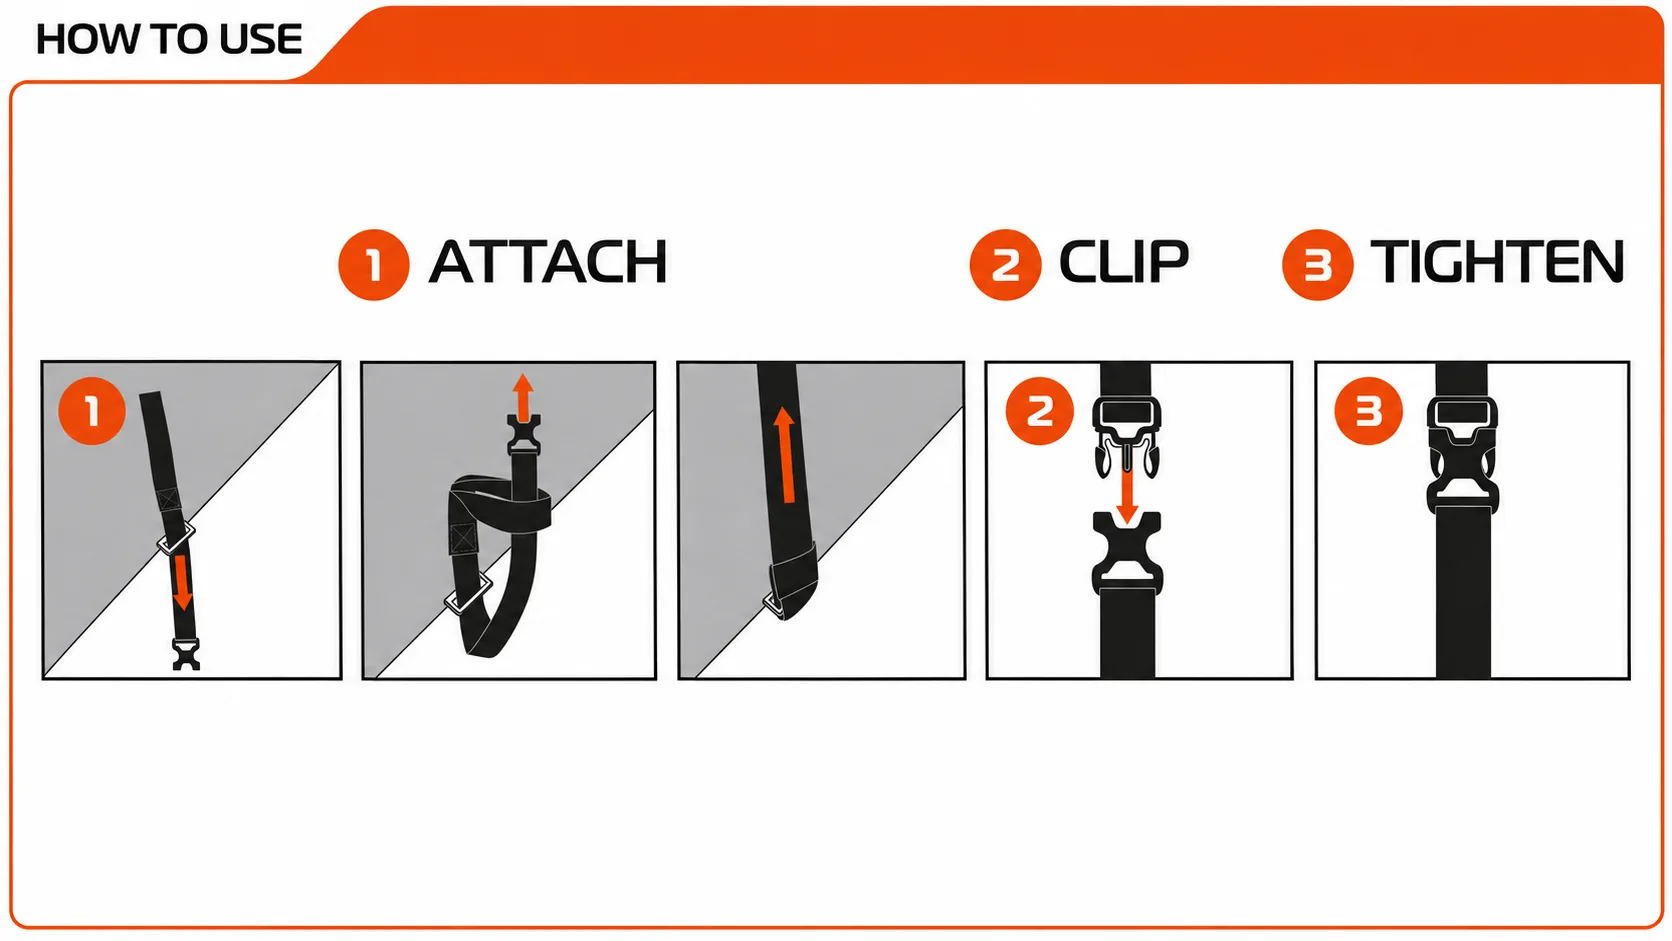
In a typical two-strap arrangement, one strap holds the bag toward its front and the other toward its rear, creating two separated restraint positions. Use the arrangement specified for your luggage system; the available anchors and the bag's attachment features determine the exact routes.
The straps should restrain the bag against its support and resist sliding. Crossing them is not a universal requirement. Check the permitted arrangement for your equipment, and make sure the bag cannot slip out from beneath the straps.
Check: The loops are seated correctly, both buckles are fully engaged, and the straps are positioned so they will not simply slide off the bag.
Step 4: Adjust the Length and Tension Evenly
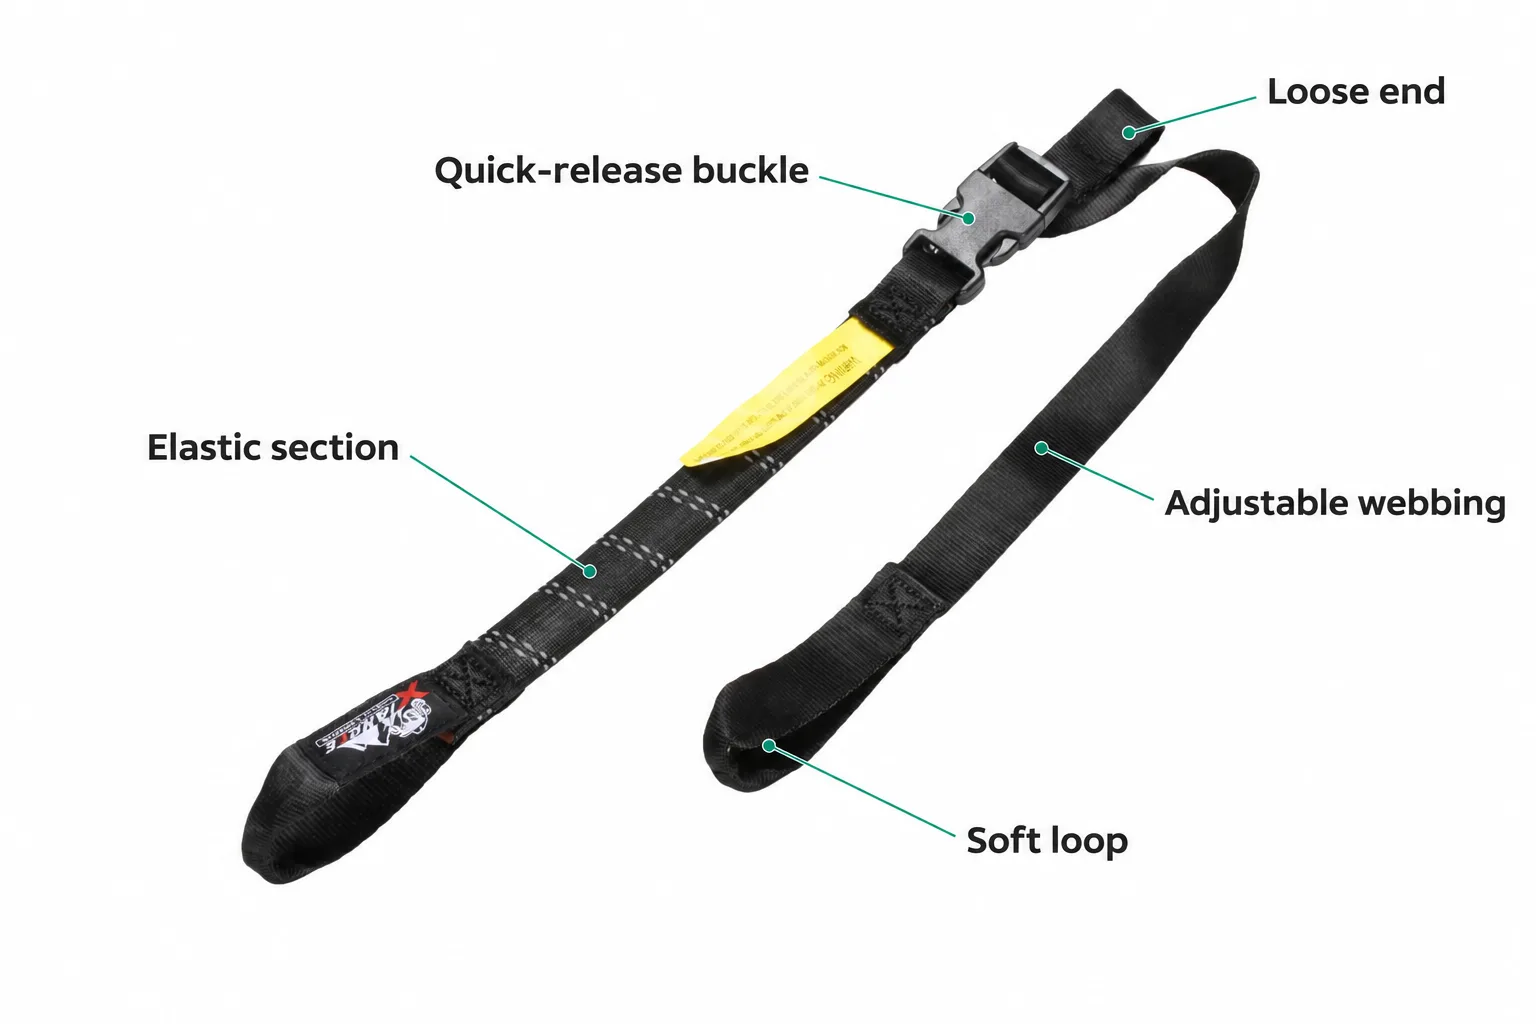
Remove slack gradually, alternating between the straps so the bag stays in position. On an adjustable elastic luggage strap, the webbing section sets the length while the elastic section provides tension. Within its intended range, that elasticity can accommodate some settling of a soft load.
Follow the elastic extension limit specified for your strap model. If the elastic is already near that limit while the bag is still loose, reassess the webbing adjustment, strap length, and route. Avoid using maximum stretch as a target for tightening.
Watch the bag as you tighten. If a handle, seam, fitting, or closure starts to distort, stop and reassess the route and tension. Position buckles away from painted surfaces wherever the equipment instructions allow.
Check: The bag is held firmly without obvious damage or distortion, and the elastic remains within its specified operating range.
Step 5: Secure Every Loose End
Secure spare webbing using the retention method recommended for the straps. Also secure the bag's shoulder straps, carrying straps, and any other loose attachments, or remove detachable ones if the bag instructions allow.
Check both sides and underneath the luggage. Nothing should hang where it could reach the wheel, chain, suspension, or exhaust. Avoid leaving an unsecured coil of spare webbing next to the load.
Check: All loose ends are retained and cannot drop into moving parts or onto hot surfaces.
Step 6: Check the Setup Before Riding and at Stops
With the motorcycle safely supported and the engine off, push and pull the bag forward, backward, and sideways. Look for strap migration, loose anchors, and a route that lets the bag slide out. If it shifts significantly, reposition the bag or change the permitted strap arrangement before tightening again.
Recheck clearances and confirm that the luggage does not interfere with the rider's position or controls. Resolve any movement or clearance problems before setting off.
Inspect the load again at the first safe stop and regularly during the journey. Recheck after opening or repacking the bag, changing the load, or noticing movement. SGI's motorcycle handbook specifically recommends checking for luggage that has loosened or moved while stopped.
How to Check Whether Your Straps Are Long Enough
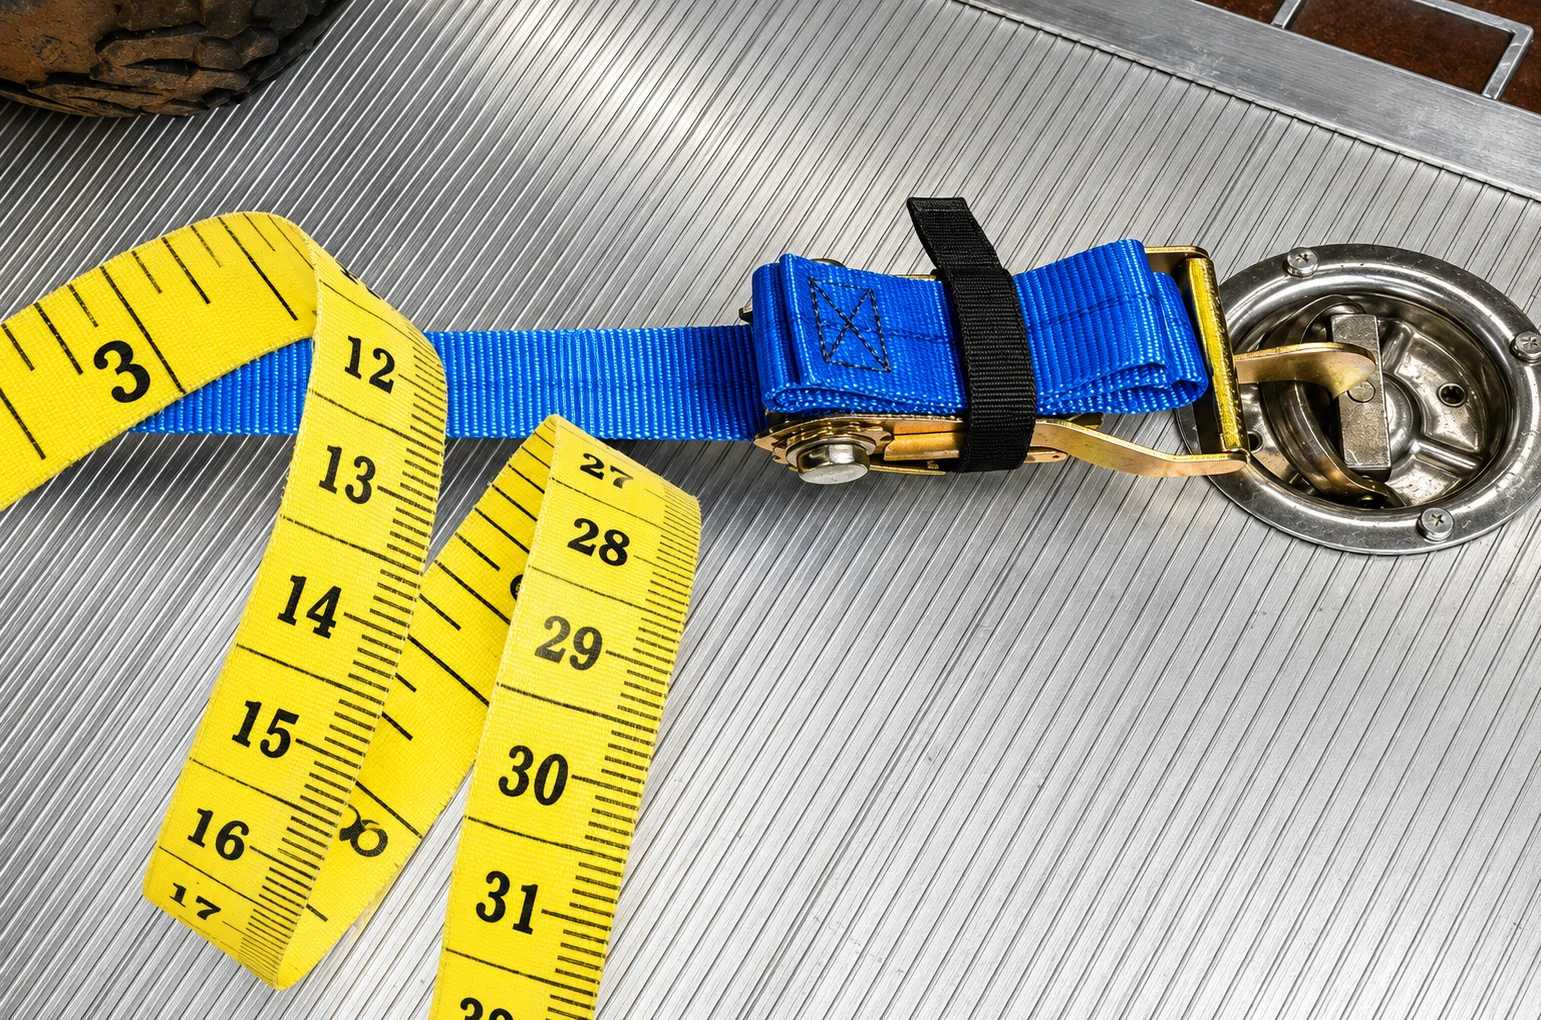
Measure the intended installed route with a flexible tape measure or non-stretch cord: from one anchor, over the loaded bag, to the other anchor. Account for the attachment method and adjustment needed to assemble and release the strap.
Compare that route with the manufacturer's usable adjustment range. Confirm whether the stated length includes the elastic section and how it is measured. Bag capacity alone does not establish the required strap length; anchor spacing and routing also affect the result.
Common Problems and What to Check
- The bag slides despite tight straps: Reassess the support, anchor positions, and route. More tension alone may not solve an arrangement that allows sliding.
- The buckle rests against paint: Reposition it as permitted by the strap instructions, ideally onto the bag rather than a painted panel.
- The elastic is near its extension limit: Check the length adjustment and product suitability. Do not exceed the stated limit.
- A D-ring or seam is being pulled out of shape: Stop and confirm whether that fitting is approved for luggage restraint.
- Loose ends flap in the wind: Stop safely and secure them using the recommended retention method.
Frequently Asked Questions
Can I attach the straps to the dry bag's handles?
Only if the bag manufacturer identifies those handles as suitable tie-down points. Check the instructions for handles, D-rings, and sewn loops individually.
What if my motorcycle has no suitable anchor points?
Check the owner's manual and look for a compatible luggage rack or attachment system with explicit fitting instructions. Avoid improvising connections to decorative panels, cables, or unapproved brackets.
Are adjustable elastic straps always the best option?
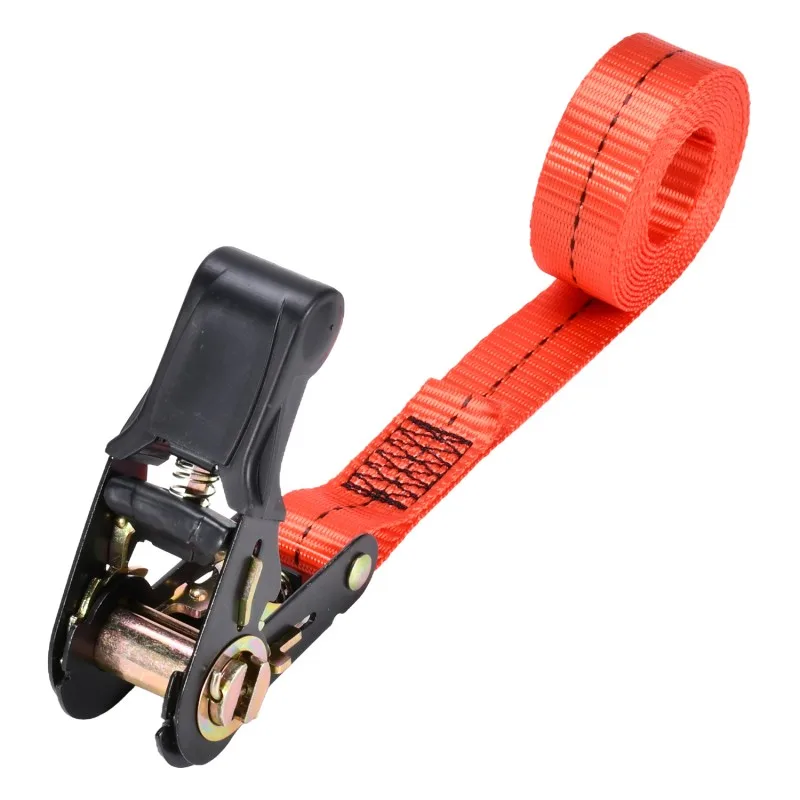
The appropriate strap depends on the load, anchor points, and equipment instructions. Adjustable elastic straps combine length adjustment with some give; suitable non-stretch systems are also used for luggage. Choose by documented application and rating.
Does this method apply to securing a motorcycle on a trailer?
This guide covers carrying a dry bag on a motorcycle. Transporting the motorcycle itself requires a separate restraint arrangement and equipment selected for that task.
Choosing Straps for Your Application
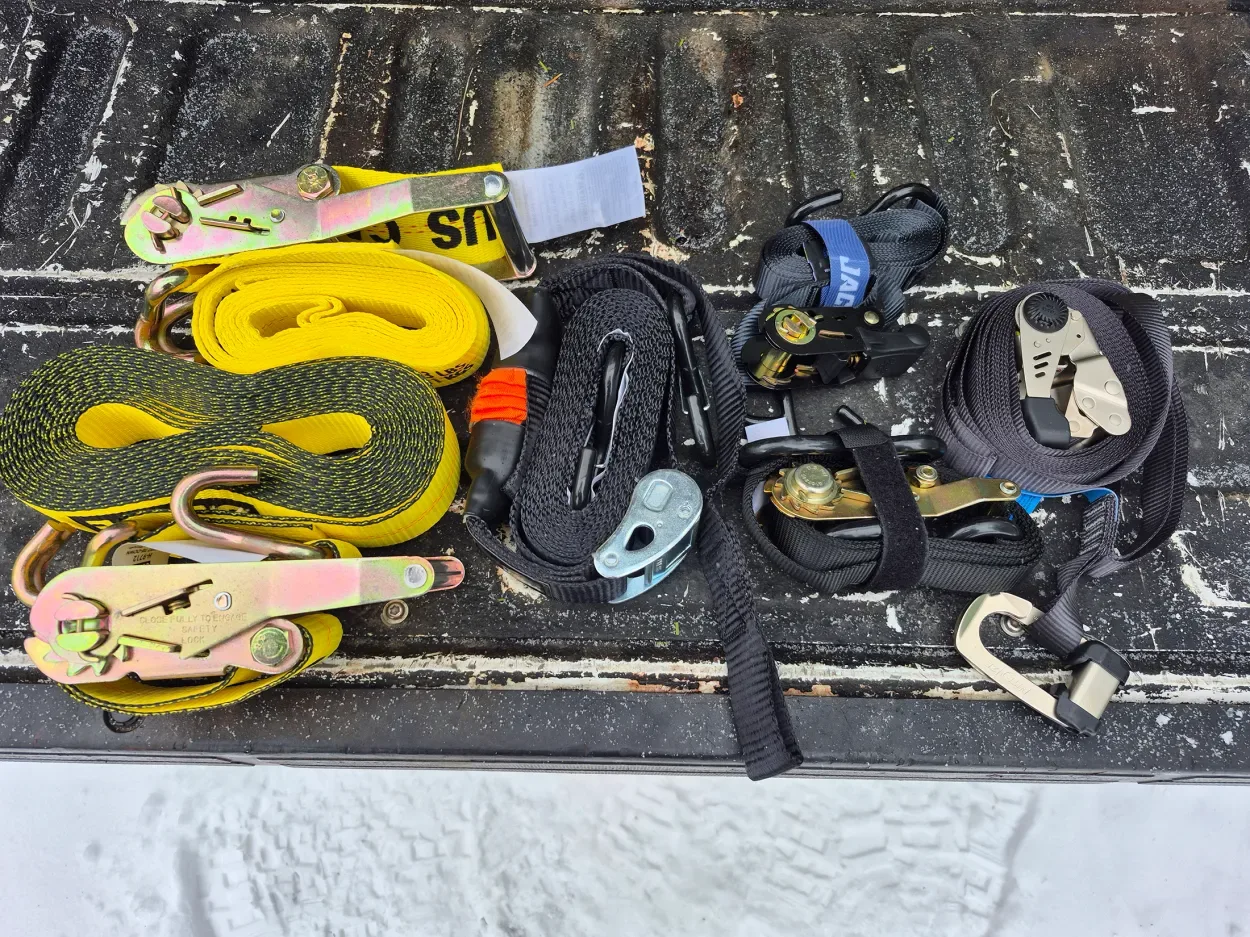
When comparing motorcycle luggage straps, look for clear information about the attachment method, usable adjustment range, rating basis, elastic limits, buckle operation, and loose-end retention. For sourcing enquiries, ask Xiangle Cargo Control for the confirmed specifications and available options for the model you are considering.